Project Blenderite
Building Blenderite: An Open-Source Product Visualisation Studio for Blender
From Python script to Blender addon for design students
The Problem
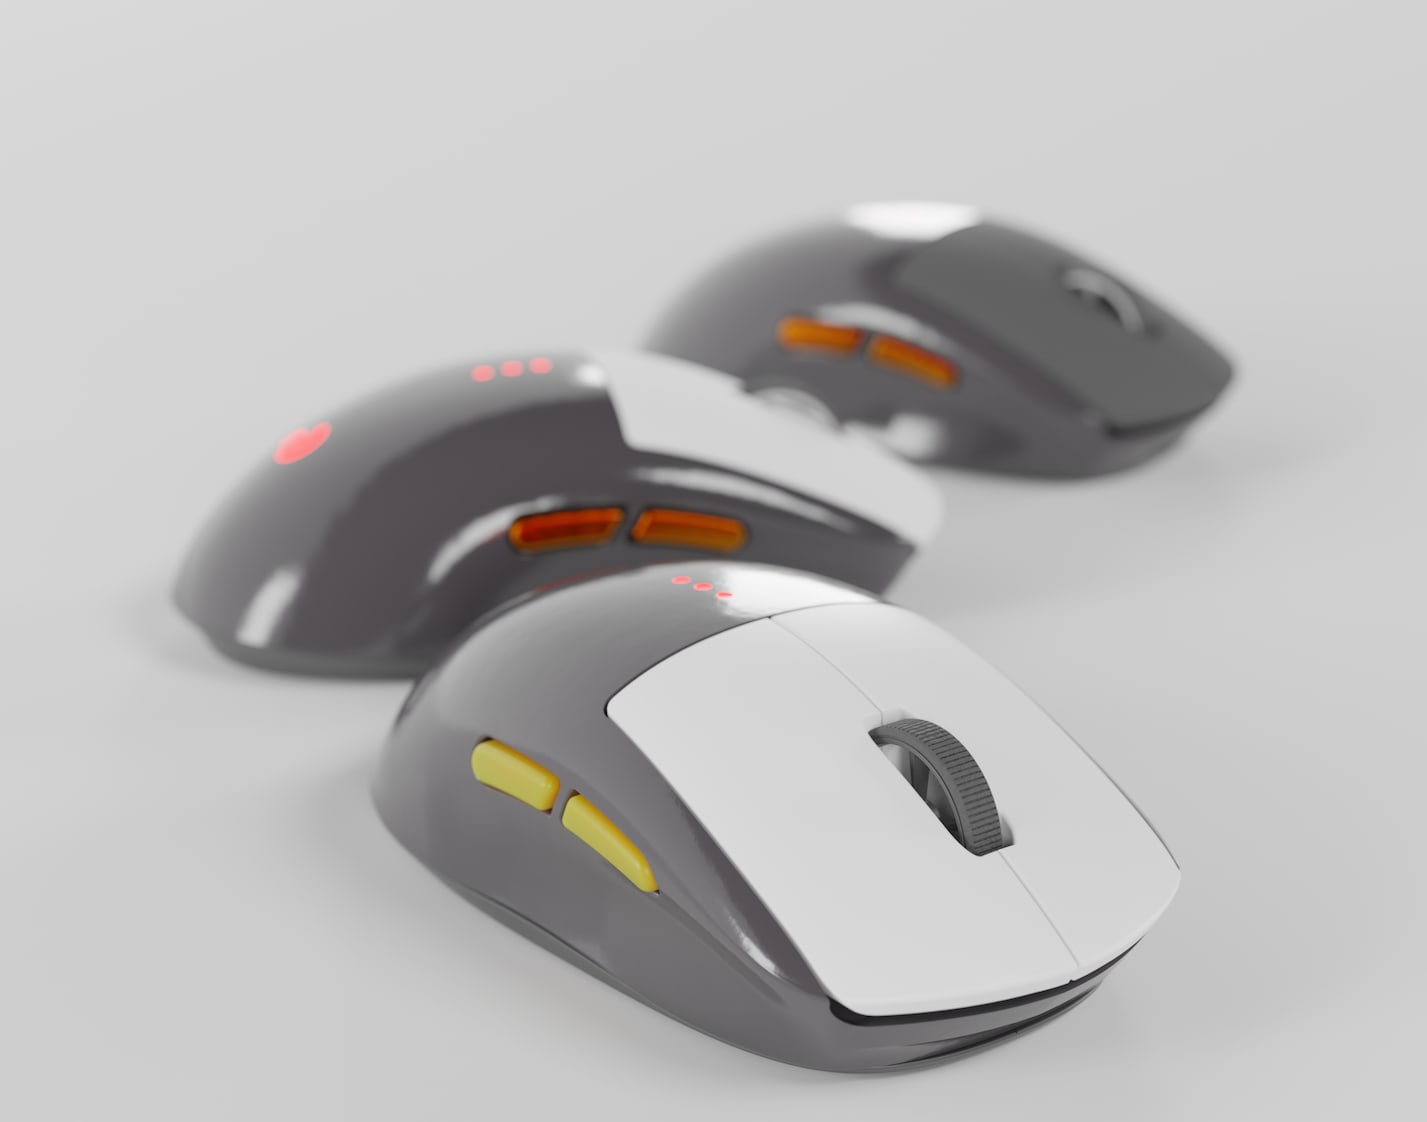
Student product visualization of 3D modeling outputs has to date relied on commercial software that produced files locked into the product and its upgrade cycle. We are also finding license expensive in an education setting and also that many of the employers our graduates go to do not have this software and are not inclined to pay for it.
The Blender rendering engines of Cycles and EVEE are capable of producing outputs that match or exceed the quality of commercial but the interface is intimidating when a user arrives to it from a parametric modeling package. Due to the set up of the default environment the results from any initial render are poor and the whole experience can be off putting.
What if we could give them a one-click solution? A tool that sets up a proper photography studio, provides sensible render settings, and offers a library of common materials — all without yet needing to understand Blender’s intricacies?
Blenderite was created to provide this on ramp.
Phase 1: The Initial Script
The journey started with a straightforward Python script. The goals were simple:
Create a studio environment:
- Three-point lighting setup (key, fill, rim)
- A camera pointed at the origin with sensible lens settings
- A ground plane for the product to sit on
- A shadow catcher for transparent background renders
Set up render presets:
- Cycles renderer with GPU auto-detection
- 128 samples for final render (balancing quality vs. speed on student laptops)
- AgX colour management for realistic highlights
- Denoising enabled for cleaner results
Build a materials library:
- Plastics in various finishes (rough, satin, glossy)
- Metals (aluminium, steel, chrome, anodised colours)
- Rubber and elastomers
- Clear and frosted plastics
The script worked. Students could run it, import their CAD model, drag materials from the Asset Browser, and hit F12 to render. This basic incarnation was tested with some students and staff with a positive reception.
Phase 2: Refinements
With initial proof of concept established various quality of life improvements were added plus additional functionality.
Left and Right Lighting Rigs
Product photography often requires experimenting with light direction. A key light from the left creates a different mood than one from the right. Rather than asking students to manually move lights, I added two complete lighting rigs:
- Lights_Left — Key light on the left, fill on the right
- Lights_Right — The mirror image
Both rigs are created, but the right-hand lights start hidden. Students can toggle them in the Outliner to instantly compare lighting directions — or enable both for even, shadowless illumination.
These are basic lighting set ups but give good enough initial output to give positive feedback and provide a basis for student experimentation.
Camera Lock to View
One of Blender’s more useful features for product photography is “Lock Camera to View.” When enabled, navigating in camera view actually moves the camera, making it trivially easy to reframe a shot.
The script now enables this automatically. Students press Numpad 0 to enter camera view, then simply orbit and zoom to compose their shot. The camera follows.
As initially set up the camera and lights track to an empty object in the scene. This makes for very basic composition with the subject in the middle of the scene. I think this could be but of a toggle later. Once the user starts to build competence and confidence with blender this can be switched off.
Asset Browser Integration
The materials were being created, but students kept asking “where are they?” The Asset Browser wasn’t obvious to newcomers.
While I couldn’t force the Asset Browser to open (Blender’s UI is surprisingly resistant to scripted changes), I could provide clear guidance. The script now logs instructions to the console and displays them prominently.
Template Sizes
Not all products are the same size. A ring needs different camera settings than a bicycle. Three templates emerged:
| Template | Products | Camera |
|---|---|---|
| Small | Jewellery, earbuds | 85mm macro with depth of field |
| Medium | Kettles, power tools | 50mm standard |
| Large | Furniture, bicycles | 35mm wide angle |
Each template scales the entire studio appropriately — lights, camera distance, ground plane size — so the workflow remains consistent regardless of product scale.
Phase 3: Procedural Materials
Simple colour-and-roughness materials only go so far. Real products have texture, grain, and visual complexity.
I added procedural materials that generate their appearance mathematically:
Wood (Walnut and Oak): Using Wave textures for grain direction and Noise textures for pore detail, these materials look convincingly wooden without requiring any image textures. The bump mapping creates visible grain that catches the light.
Brushed Stainless Steel: Stretched noise creates the characteristic directional scratches of brushed metal, with the roughness varying along the brush direction.
Woven Fabric: Crossing Wave textures simulate warp and weft threads, creating a convincing cloth appearance with appropriate sheen.
Perforated Metal (Speaker Grills): For the speaker grill material, I generated bitmap images programmatically — grids of circular holes that create the characteristic perforated look using alpha transparency.
Phase 4: The Addon
A script you run from the Text Editor works, but it’s not elegant and most of this cohort are less comfortable in a scripting environment than they are in a GUI where they are generally highly proficent working across CAD, layout and graphic design software. Therefore what we wanted was a button. Several buttons, actually.
Converting to a proper Blender addon meant restructuring the code:
blenderite_addon/
├── __init__.py          # Addon registration
├── core/
│   ├── config.py        # Templates and settings
│   ├── studio.py        # Studio creation
│   └── materials.py     # Material library
├── operators/           # Button actions
└── panels/              # The N-panel UI
The addon registers a panel in the 3D viewport sidebar (press N to reveal it). The interface is deliberately simple:
Setup Section:
- S / M / L buttons for Small, Medium, Large studio creation
- Separate buttons for “Studio Only” or “Materials Only”
Lighting Section:
- Left / Right / Both — one-click lighting direction
Background Section:
- White Floor / Transparent — toggle between solid and alpha background
Render Section:
- A big “Render” button (though F12 still works)
Help Section:
- Quick Start Guide with keyboard shortcuts
- Inline tips for the workflow
The panel also includes persistent tips reminding students about the Asset Browser location and the Numpad 0 shortcut for camera view.
Now Available on GitHub
Blenderite v0.1.0-alpha is now released and available for anyone to use, modify, and improve.
Repository: github.com/Setanta72/Blenderite
You’ll find:
- blenderite_addon/ — The complete Blender addon
- scripts/ — Standalone Python scripts for those who prefer them
- Documentation — README, changelog, and contribution guidelines
Installation
- Download
blenderite_addon.zipfrom the Releases page - In Blender: Edit → Preferences → Add-ons → Install…
- Select the zip file and enable the addon
- Press N in the 3D viewport to find the Blenderite panel
Try It Out!
I’d love feedback from other educators, students, and Blender enthusiasts. Does it work on your system? Are there materials you’d like to see added? Is the interface intuitive?
Open an issue on GitHub or submit a pull request. This is an open-source project — contributions are welcome.
What’s Next
Blenderite v1.0.0 is a solid foundation, but there’s more to do.
Easier Camera Setup
Currently, reframing a shot requires entering camera view (Numpad 0) and navigating. This works, but it’s not discoverable. Future versions might include:
- Lens settings for tight (100mm), regular (50mm), wide (30mm)
- Camera preset buttons (hero shot, three-quarter view, top-down)
- Visual guides for composition (rule of thirds overlay)
- One-click turntable animation setup
Gizmo-Based Part Placement
The biggest friction point I observe is students struggling with Blender’s transform tools. Moving and rotating objects requires keyboard shortcuts (G for grab, R for rotate) that aren’t obvious to newcomers.
I’m exploring adding on-screen gizmos — draggable handles that appear on selected objects — to make positioning more intuitive. Think of how CAD software handles part placement, brought into the Blender viewport.
Expanded Material Library
The current 50+ materials cover common industrial design needs, but there’s always room for more:
- Soft-touch plastics
- Leather and synthetic leather
- Carbon fibre and composites
- Knurled metal surfaces
- Pearlescent and colour-shifting finishes
HDRI Environments
Studio lighting is great, but sometimes you want environmental reflections. Adding a selection of neutral HDRI backgrounds could expand the tool’s versatility.
Conclusion
Starting from a simple script to help students get renders done this phase of the project has migrated into a proper Blender addon. It’s not trying to replace Blender’s full capabilities — it’s trying to make the first steps easier.
Download: github.com/Setanta72/Blenderite/releases
Happy rendering!
Dr B — February 2026
Built with assistance from Claude (Anthropic)